The landing and stairs makeover didn’t cost that much, but it took time, patience and a lot of skill. The before and after pictures below show briefly what was done, and boy! this took a lot of work. This is why it’s known as the extreme makeover job. I did all of the work myself, apart from putting in the spindles. This is great news because it means you too can achieve this look.
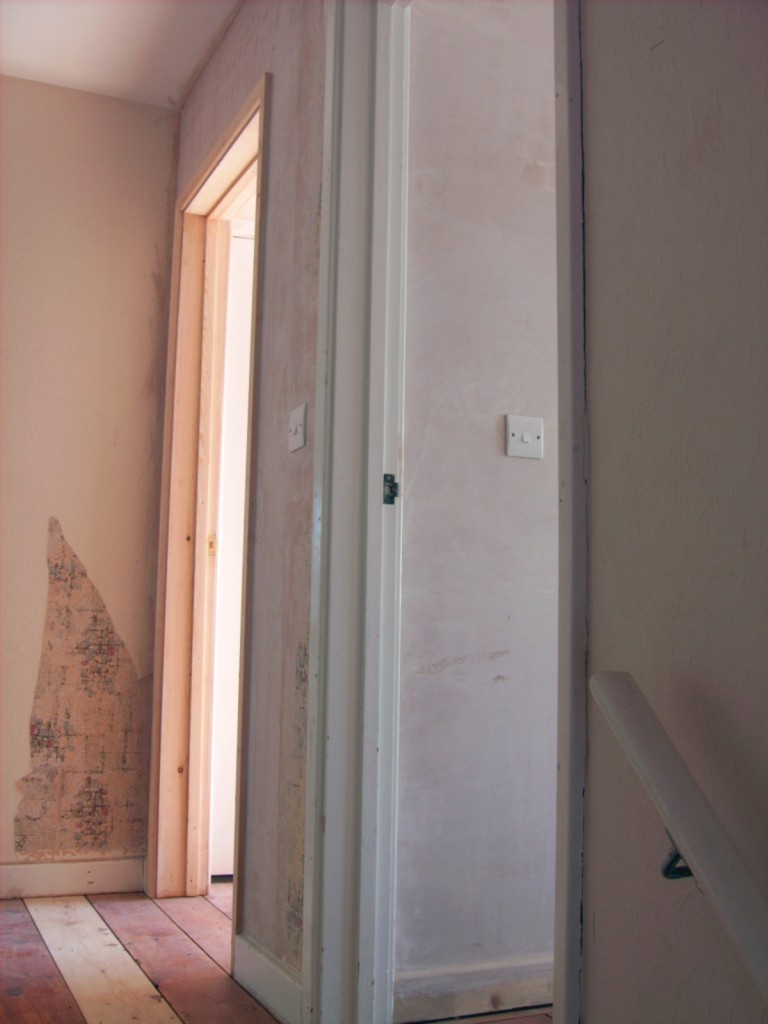
First of all, let’s look at the landing makeover. After the old, stained carpet was removed, we were left with raw, damaged floorboards. One of the things that irritated me about the old landing was that there was a solid plywood at the top of the stairs (on the landing) blocking out essential light from entering the area. My idea for this extreme makeover was to replace the old banister and plywood, with a new one, holding spindles. I also wanted to strip the floor boards, but before this was done, some of the damaged ones had to be replaced.
The landing makeover
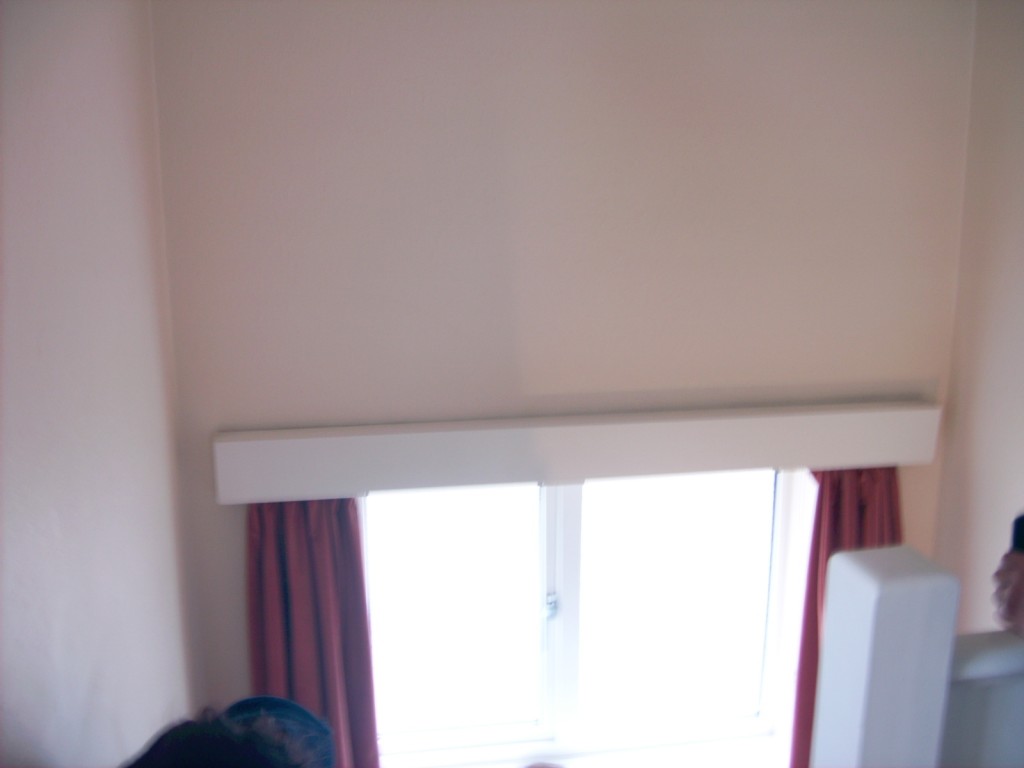
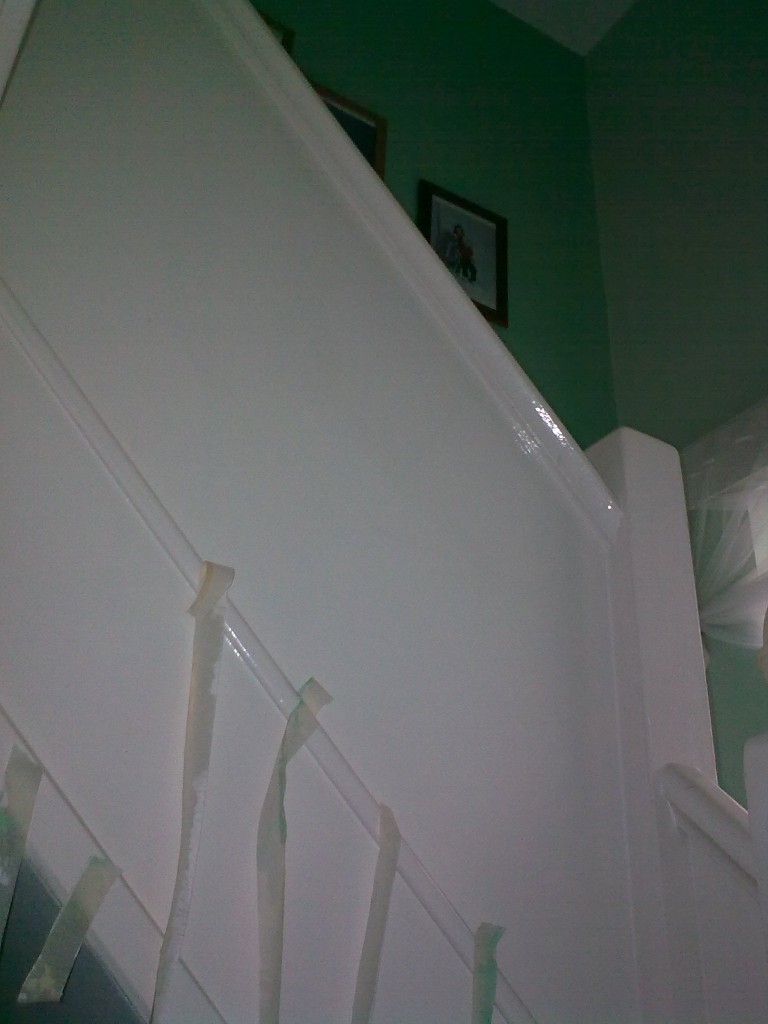
The natural light was there, (coming in from the stairs window) but the solid plywood (seen below) prevented any of it from reaching the landing. Once the painting and decorating was finished, this showed up even more, and even though we couldn’t do it at the time of the initial decorating, we had it done later on.
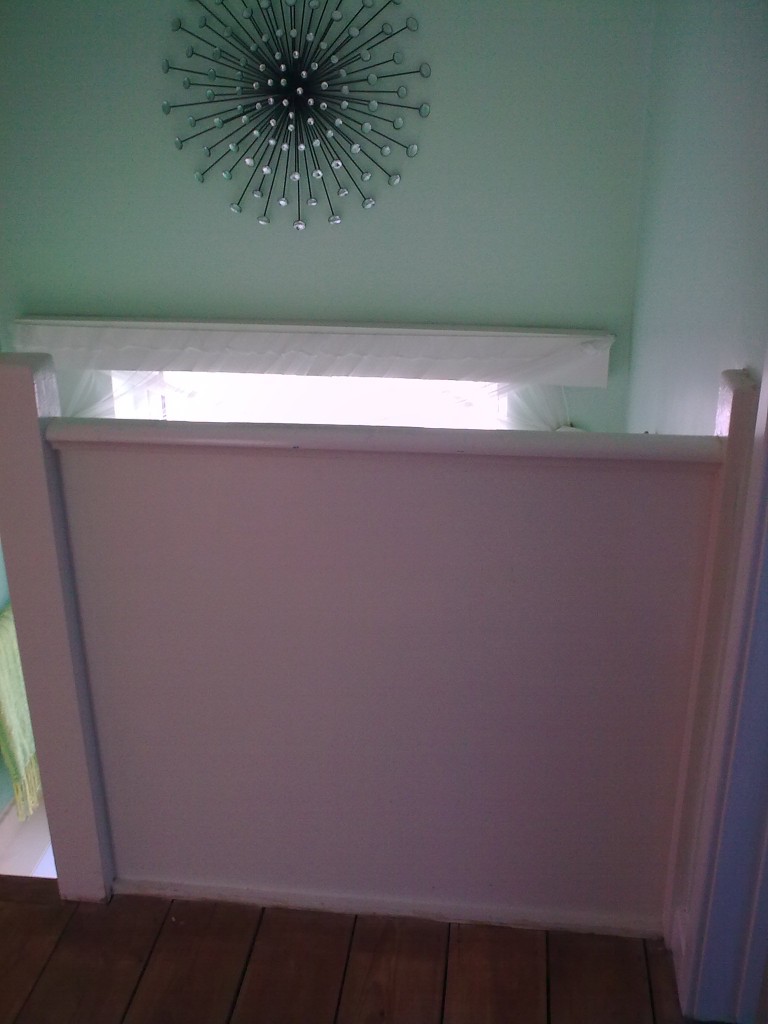
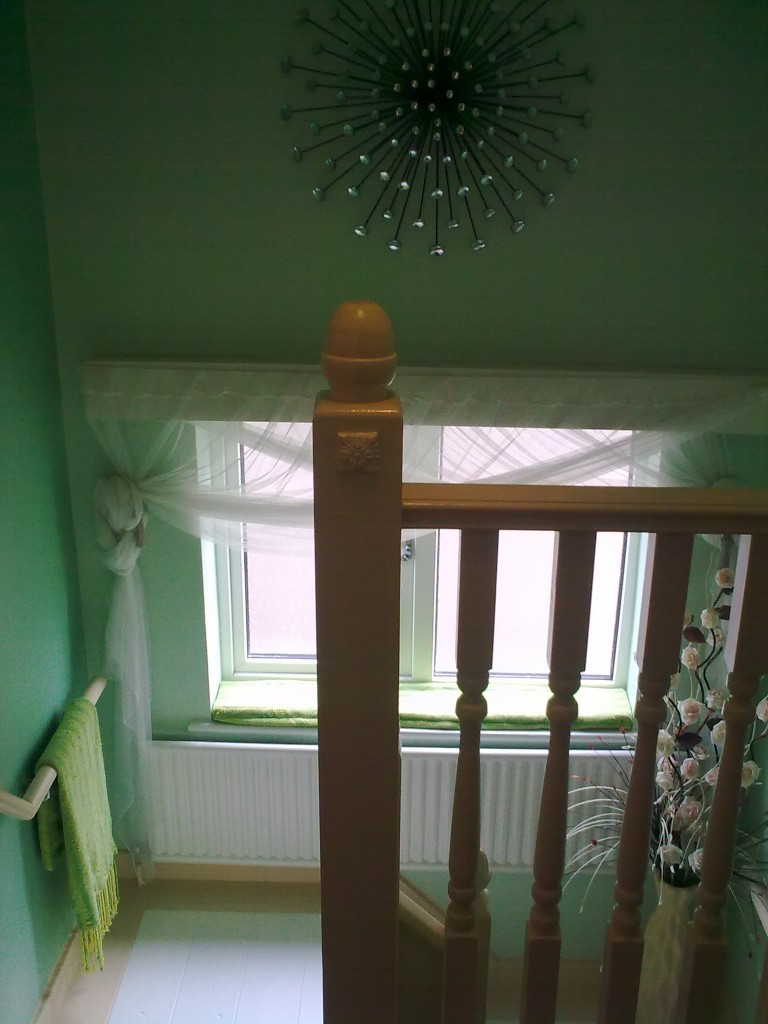
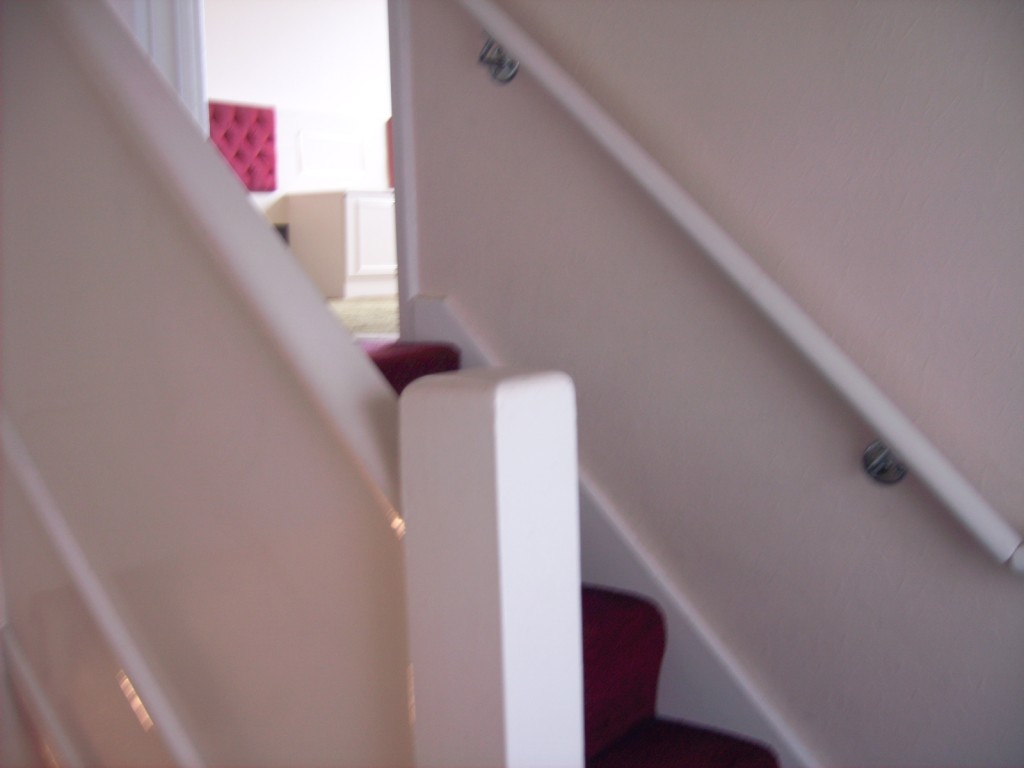
The completed look! Light flows from the window now that the thick red curtains are gone, and the solid plywood separating the stairs and landing has been removed. Notice the detail I added with the kewel and decorative moulding on the the edge of the bannister. I got them from a builder’s yard for next to nothing. A bit of glue and some paint later, and they look like they’ve been there for years. You can see how these little details can make your home beautiful here.
Now the stairs extreme makeover
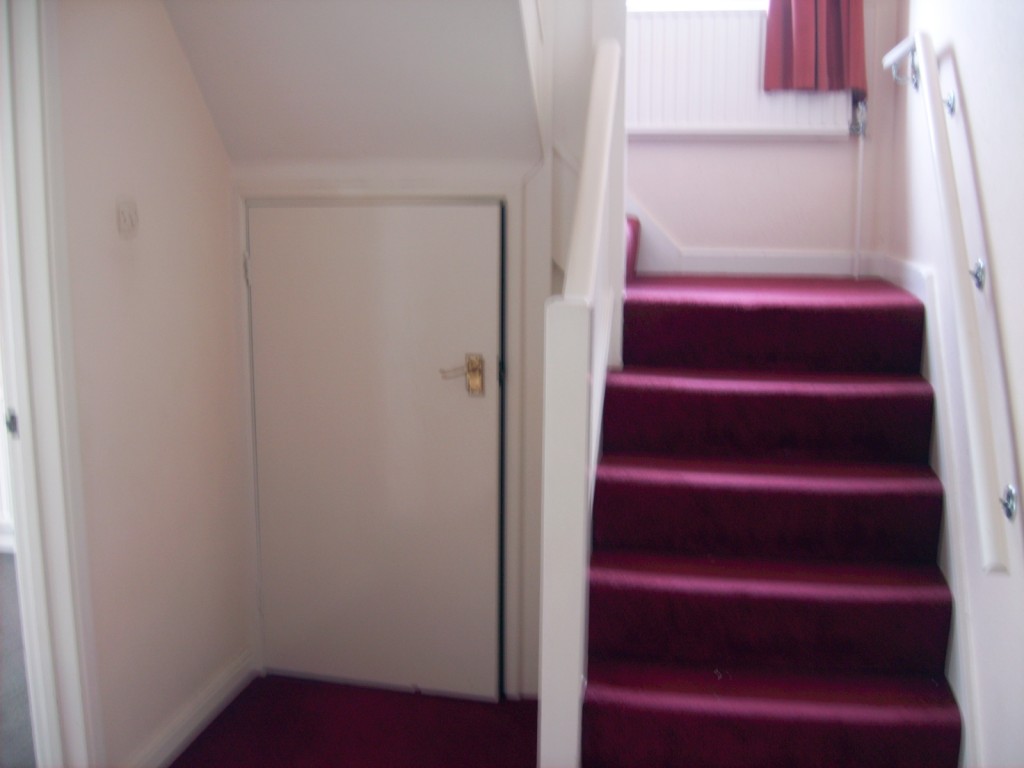
Before: original stairs
Before: the side of the stairs
Before: middle landing area
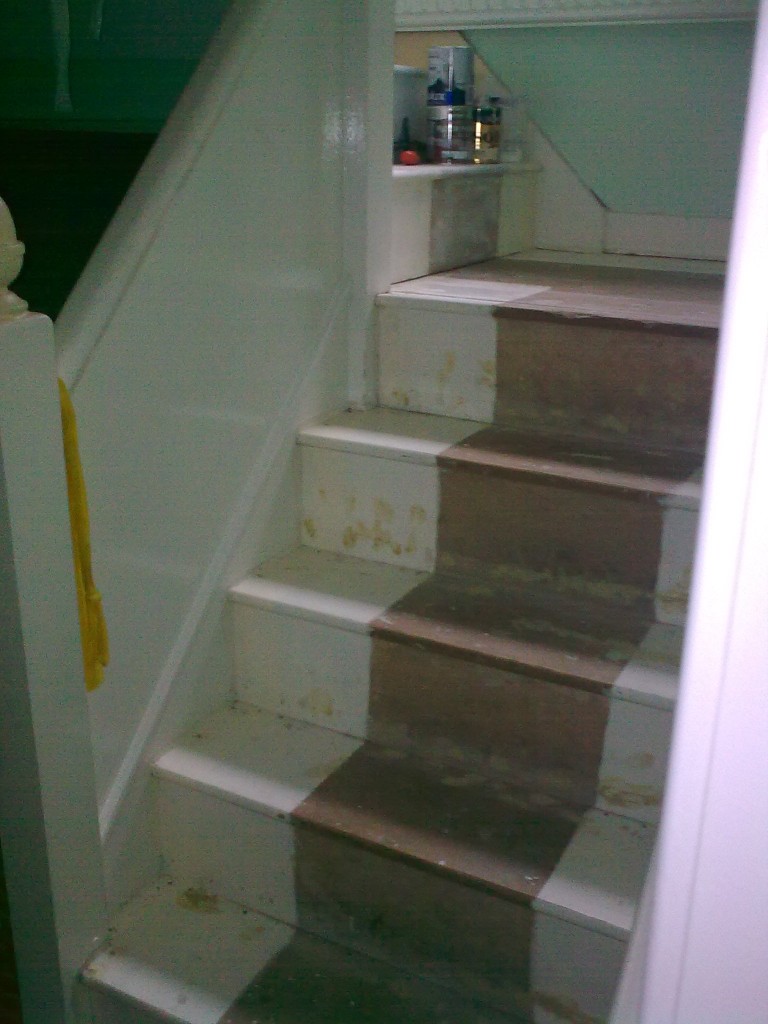
Before: holes in stairs
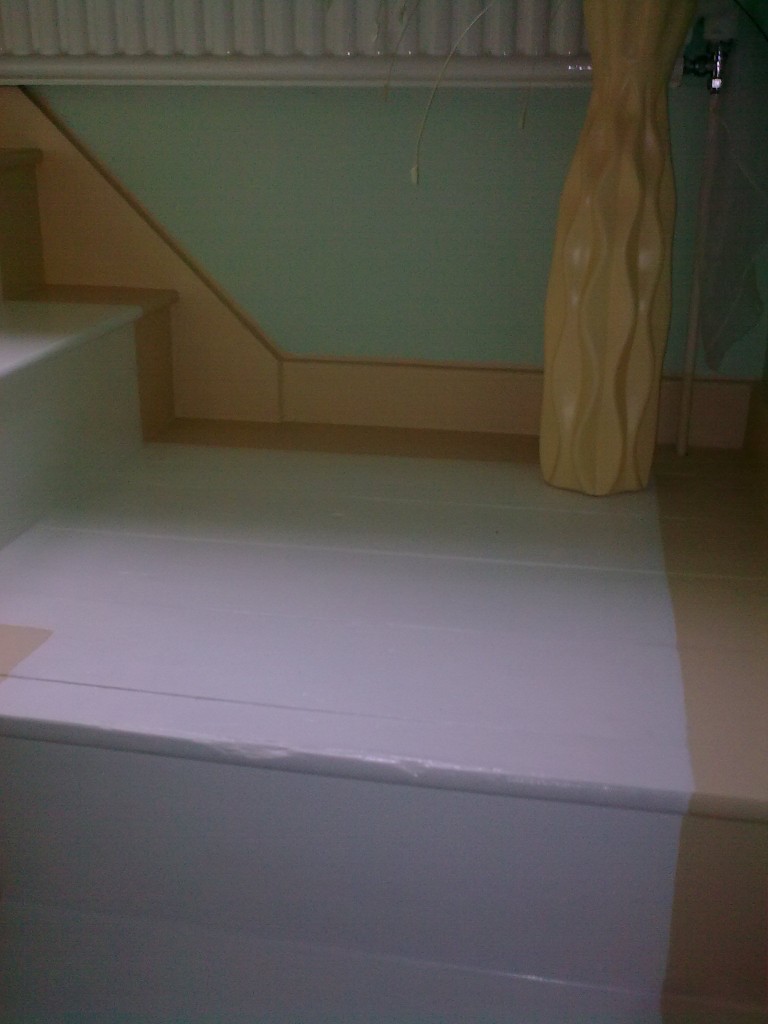
After removing the carpet, rotten underlay and carpet grips, I filled all the holes with wood filler. There’s still lots of work to be done, though. The large creases/gaps between the stairs and the backing boards have to be filled and the entire stairs still has to be sanded in preparation for painting. This indeed, was an extreme makeover! I spent an entire day behind the stairs, screwing and gluing the pieces together to get rid of some of the creaking.
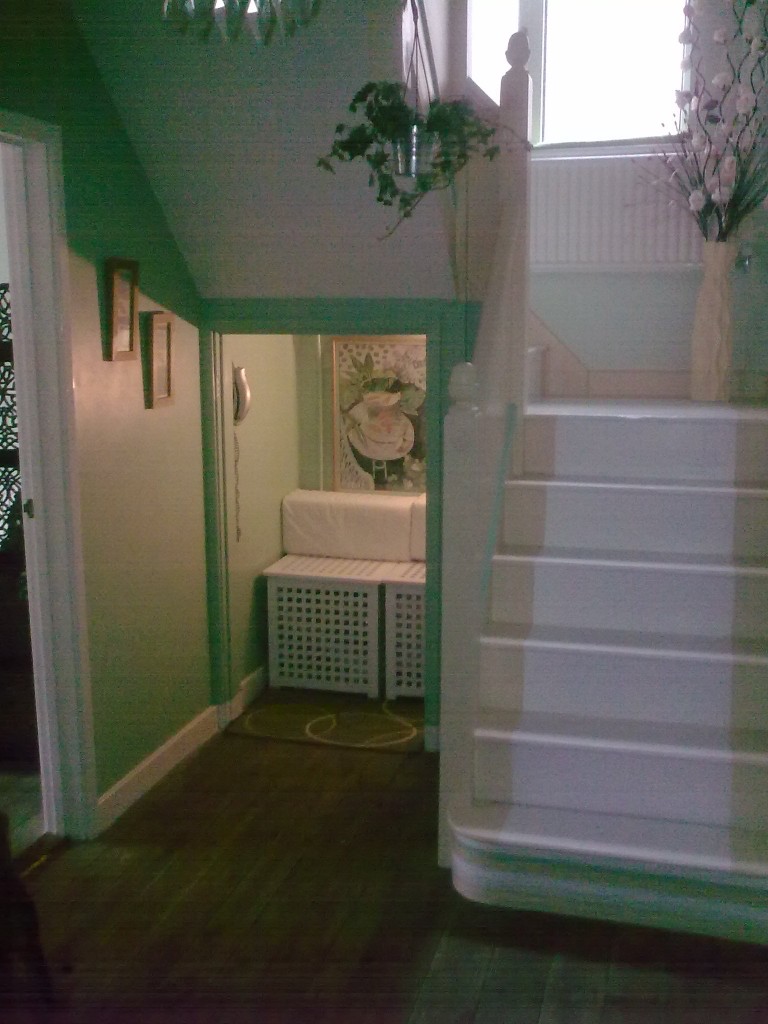
After pictures of the extreme stairs and landing make over
After: new stairs
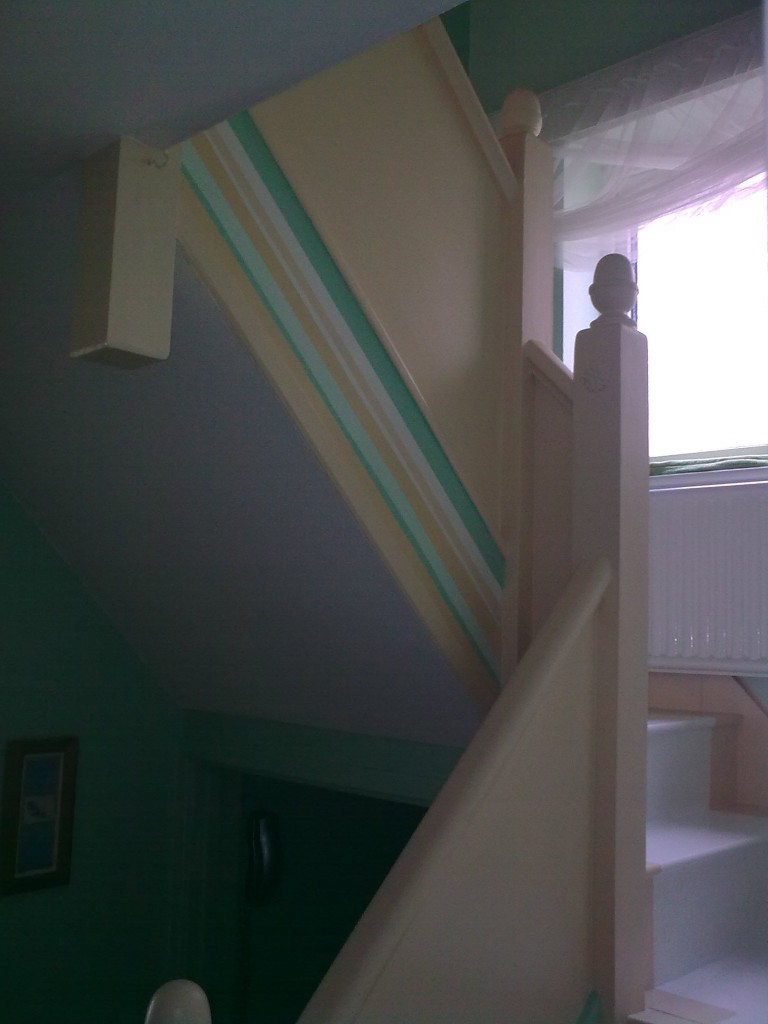
After: the side of the stairs
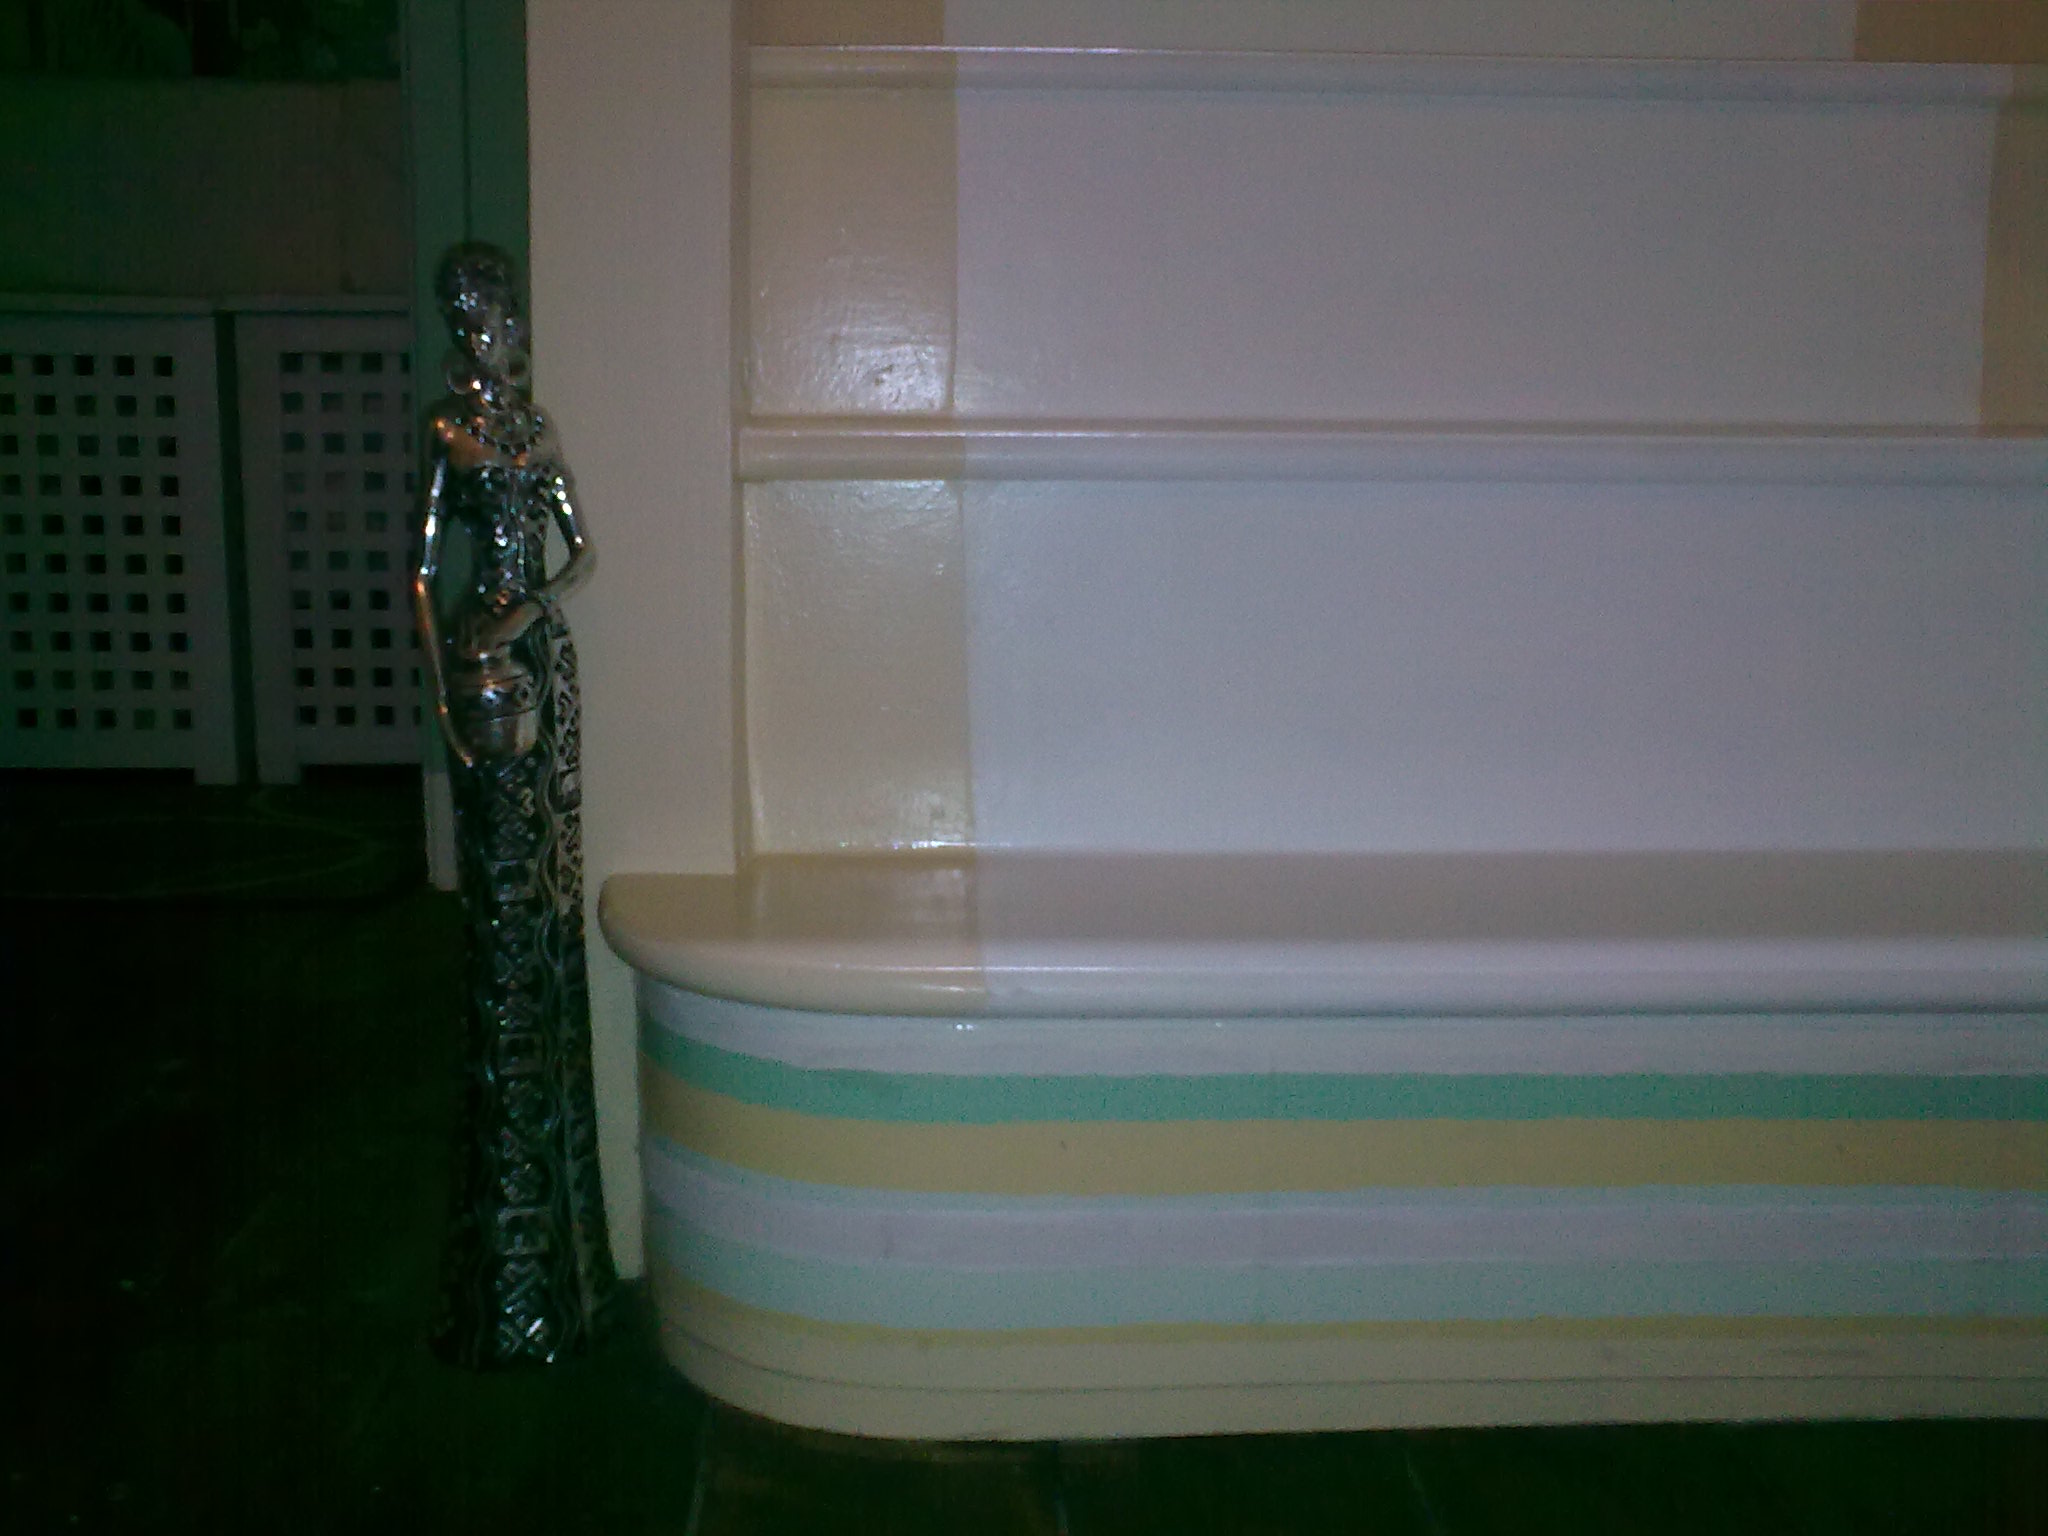
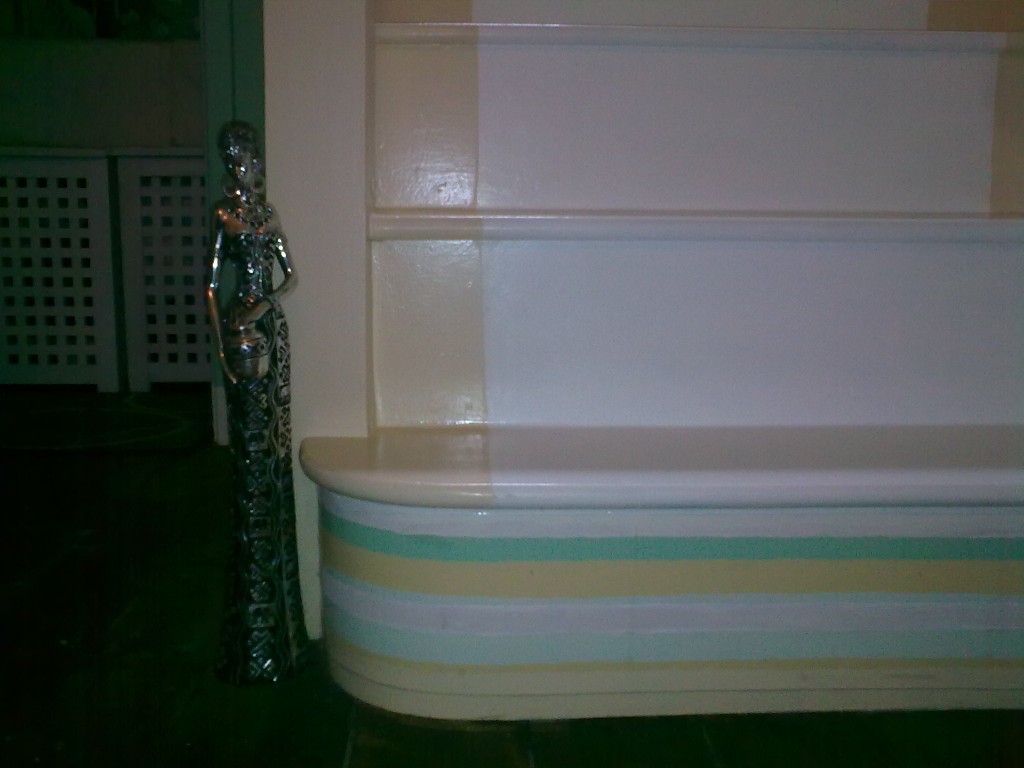
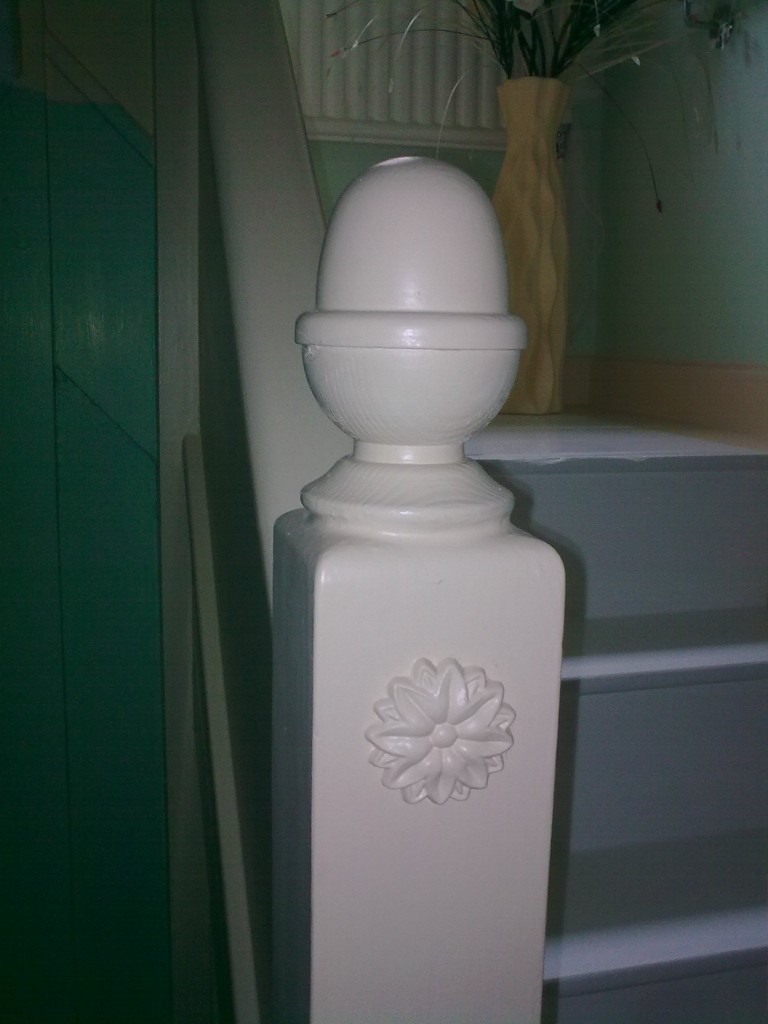
Notice, the kewel (little bubbly thing on the left) makes a nice touch to inject some elegance to the finished look. I added the colour stripes with all the paints I used in the hall area. This is easy to achieve with masking tape, even if you haven’t got a steady hand. Make sure you go to the link above if you want to achieve this look!
After: the middle landing area
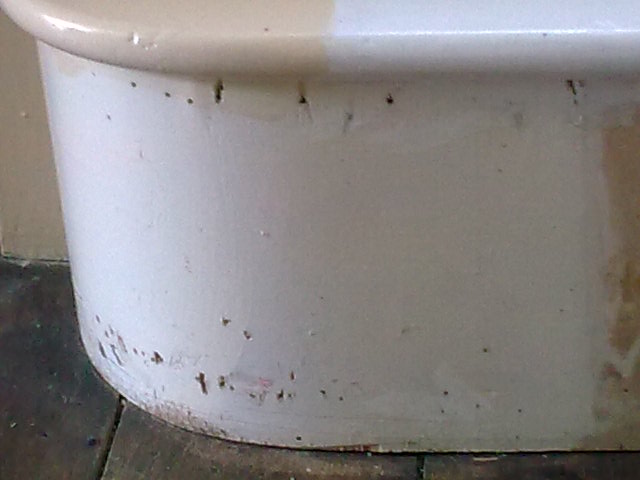
You may be able to notice some damage at the very tip of the stairs. I couldn’t replace this, but with the holes and creases taken care of, the new paint does a good job of disguising it.
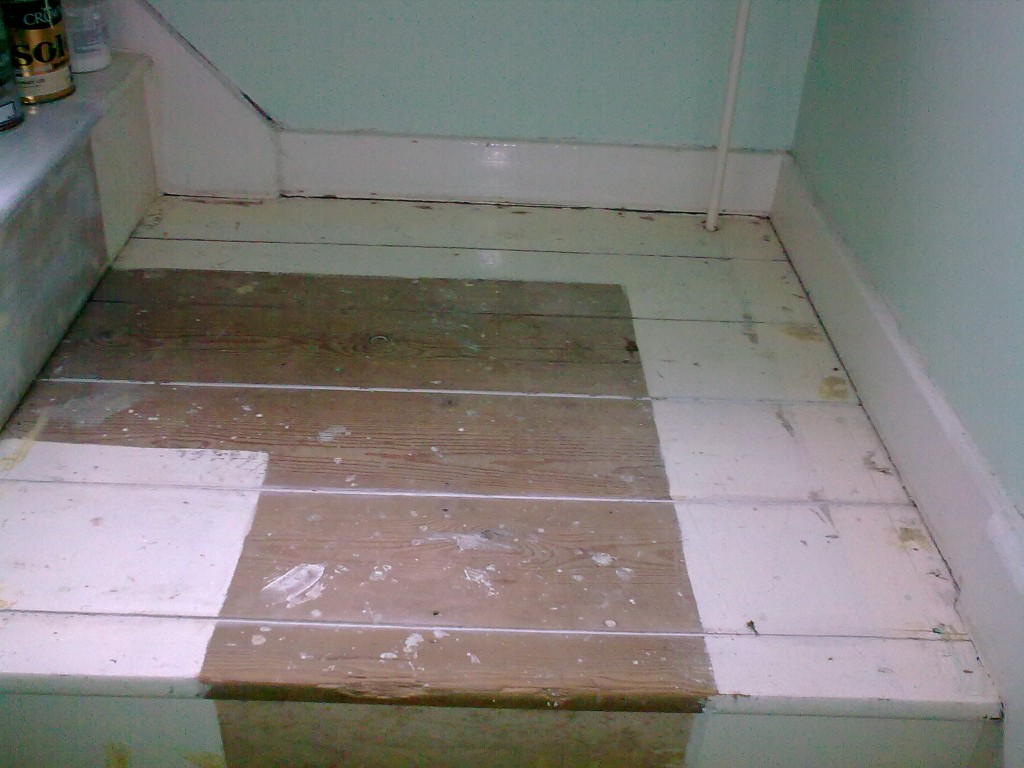
After: bottom step is given some class
A whole lot of work later, I added a combination of colours at the bottom of the stairs. These are all the colours used in the hall/landing area, so the look flows charmingly.
Little touches like the kewel and decorative moulding just below the bannister (in the before and after pictures below) make the overall effect of this extreme makeover something to really add elegance to the area and wow your visitors. Little touches to make your home beautiful add up to give an overall impression of style.
After
See our other home DIY projects on this page and find loads more ideas to improve your home.
Globe Ladders Ltd have a wide range of ladders for your landing and stairs DIY projects. As always, thanks for the visit and the comment. If you like this article, please share it with someone or on your favourite social networking site.

My name is Douglas and I run a website called http://cheapstairparts.com – We sell iron balusters, wood handrail, newels, stair treads and other stair parts. If you ever have a stair remodel project coming up in the future feel free to look us up. We give contractor discounts which also applies for designers, installers and people who are looking to resale. Thanks!
That looks like a major project. I'll bet it is going to look fantastic when finished. We do all of our own repairs and make overs too, it is time consuming but the rewards are worth it.
You’re so right, Judy. It’s all done now and the results are worth all the work.