Christmas lights are so beautiful that you almost don’t want to pack them away after the festive season concludes. With the following 4 brilliant DIY decorating projects, you can start enjoying your Christmas lights all year round.
Make Mason Jar Lanterns
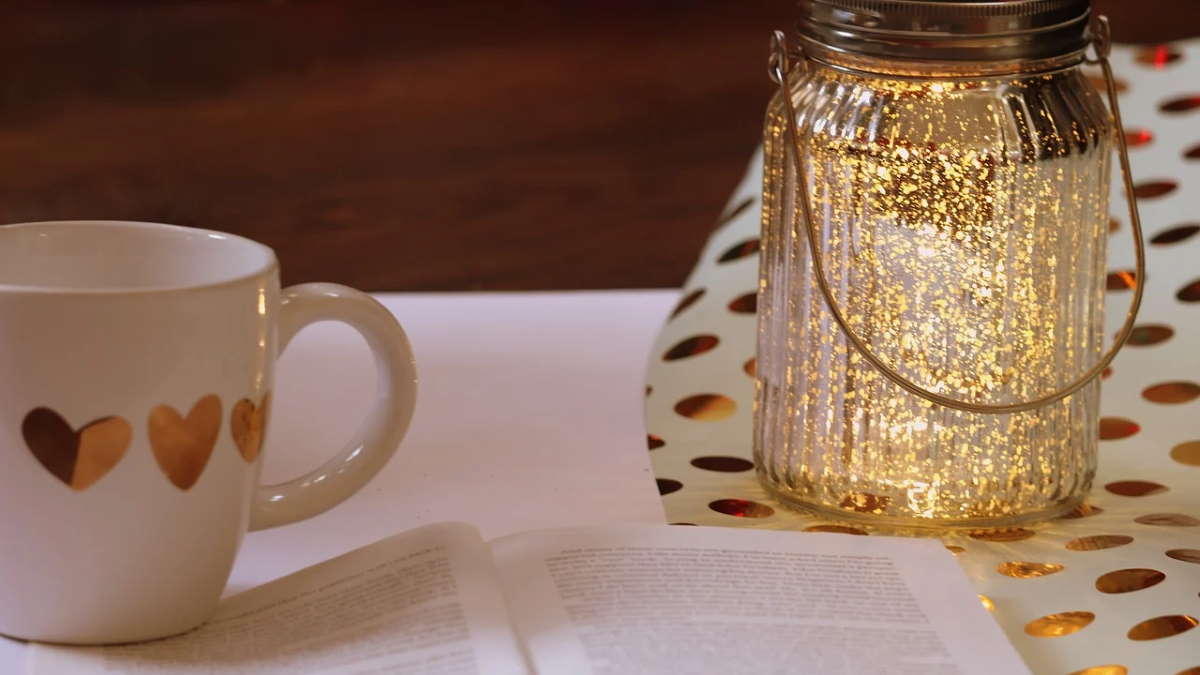
Mason jars have come back into vogue in recent years, with DIYers using jars for everything from funky salad holders to modern vases.
Put Christmas lights inside them and you’ve got some groovy lanterns. String a few of your mason jar lanterns together to create an eye-catching way to illuminate your next outdoor party. The light is much softer than the harsher fluorescent lights used in many outdoor spaces, so you’ll have the right ambiance for any room.
Jazz Up Tree Trunks
In December, Christmas lights decorate the branches of firs and pines. During the rest of the year, however, you can wrap them around the trunks of trees in your back garden to create a magical atmosphere to add to your exterior design.
You’ve probably seen this technique used at wedding receptions and fancy garden parties, but the idea suits any outdoor soiree. Set up chairs and tables around the trees to create a special alfresco dining and entertainment zone.
Create an Eye-Catching Centerpiece
A string of Christmas lights can also transform an ordinary vase or goldfish bowl into an eye-catching centerpiece.
Bunch up lights inside your container of choice, turn them on, and admire the whimsical effect. This DIY project works best with battery-operated lights, such as ones from Christmas Lights Etc, but if you have a cord, you could hide that cord underneath a runner. Clear vases and bowls look elegant, but for a quirky twist, you could try placing your lights in colored glass containers.
Add Year-Round Style With a Twinkle Board
A twinkle board project is more involved than the others listed here, but the effect is so impressive and worth the effort. Holes in your twinkle board let your Christmas lights peek through to illuminate a word of your choice. You could display a board with an inspirational word such as peace, wisdom, or optimism in your living room. Or, perhaps you’d like to make twinkle boards with your children’s names for their bedrooms.
Choose a wooden panel and a typeface you like. Type your chosen word into a word processing program and print it out at the right size to use as your guide. Tape the printout to your board and pencil in where the holes should go along the lines of the letters. Assess your Christmas light bulbs and choose a drill nail that will create the right-sized holes. Drill the holes through your wooden board.
Starting from the end of your string of Christmas lights farthest from the plug, insert the bulbs through the holes in your board. If your holes are small enough, you won’t need anything to secure the bulbs. If they’re a little loose, you can tape them in place.
Hang your twinkle board, plug it in, and enjoy.
Why wait all year to admire your Christmas lights? With these 4 brilliant DIY projects, any occasion is a great excuse to bring them out again.

